7 Easy solutions on Removing Ambient Noise on Your Blue Yeti

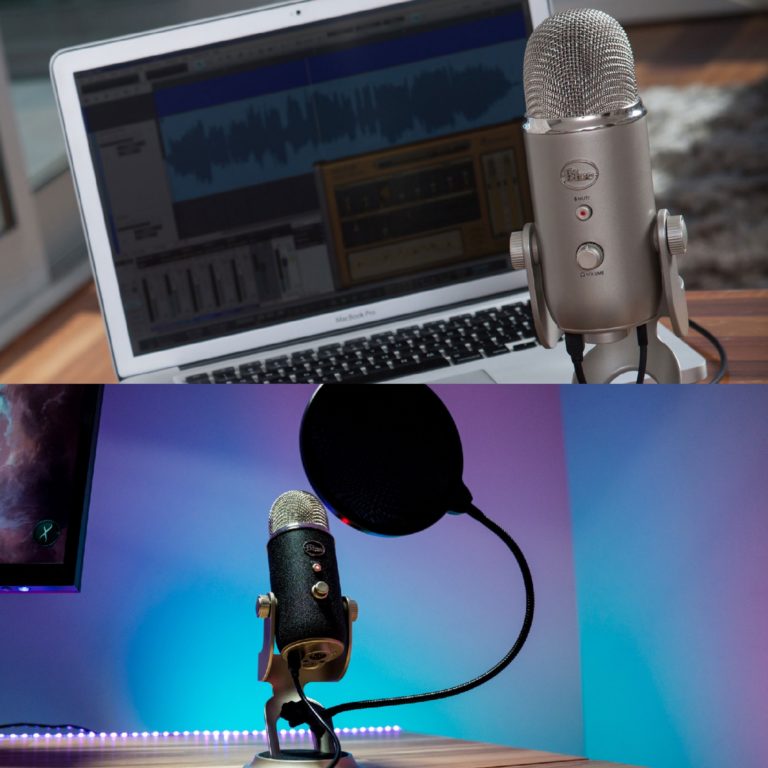
As a creator, you know the importance of your audio quality. You want clean and crisp sound when you upload videos on YouTube or create podcasts for Soundcloud.
However, background noise can ruin all of that hard work by making the video seem amateurish or even unintelligible at times. Fortunately for you, there are ways to get rid of it entirely with some very simple steps.
People often confuse “background noise”, with “plosives and breathing noises,” because they are often related.
Background Noise
Background noise is caused by A/C, typing on your keyboard, or even your kids playing lively. Sometimes it can be a technical difficulty, which I wrote some tips on making the blue Yeti sound better.
Noises from your Mouth
Plosives and breathing noises are sounds that come from the mouth, or through breathing. Mouth noises can be caused by dryness, congestion, speech habits, and poor consonant sounds.
The good news is you can soften mouth noises with some simple adjustments on your blue yeti.
→ To make your Yeti less sensitive and focus more on your voice, follow these steps:
1 Reduce the gain
Gain refers to the volume of sound that your microphone absorbs. You’ll hear distortion or loud audio if your gain is too high. If you lower the gain to zero, you won’t hear any sound.
Your microphone could be picking noise because of the gain knob settings. If you are recording with an input setting that is high, your Blue Yeti microphone will pick up ambient sounds and background noise.
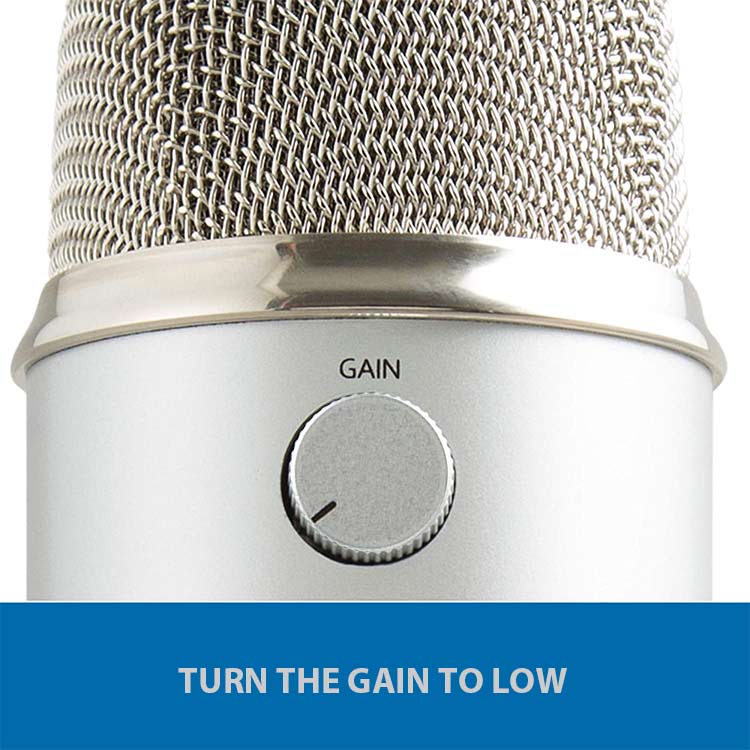
Try to Turn the gain as low as you can, but don’t let your voice sound too soft. Play around with the gain knob and see if you can limit these noises.
2 Adjust the input volume
Sometimes it is better to adjust the mic volume (gain) on the desktop.
First, turn the gain on the Yeti to the middle position. Then lower the volume of your desktops input by going to Settings >> System >> Sounds.
In the sound menu by the input section click on “Device properties and test microphone”.
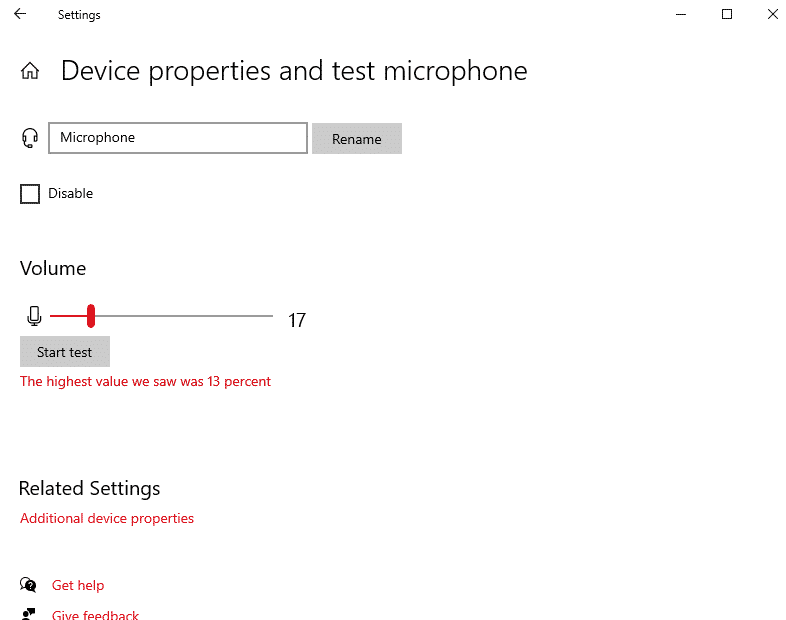
Find the volume at which your voice sounds clearest and the microphone doesn’t pick up any ambient sounds.
Play around with these 2 settings the “gain” and the “desktop’s input volume” till you find the perfect balance.
3 Position the Mic Correctly
If you are too close, the mic will pick up breathing sounds and strong syllables the sound will also be more distorted and harsh.

On the other hand, if your mic is too far you might hear weird noises and your voice won’t be as sharp. Your microphone might also pick up more background noises.
For best results keep your microphone at a distance of 6-12 inches from you.
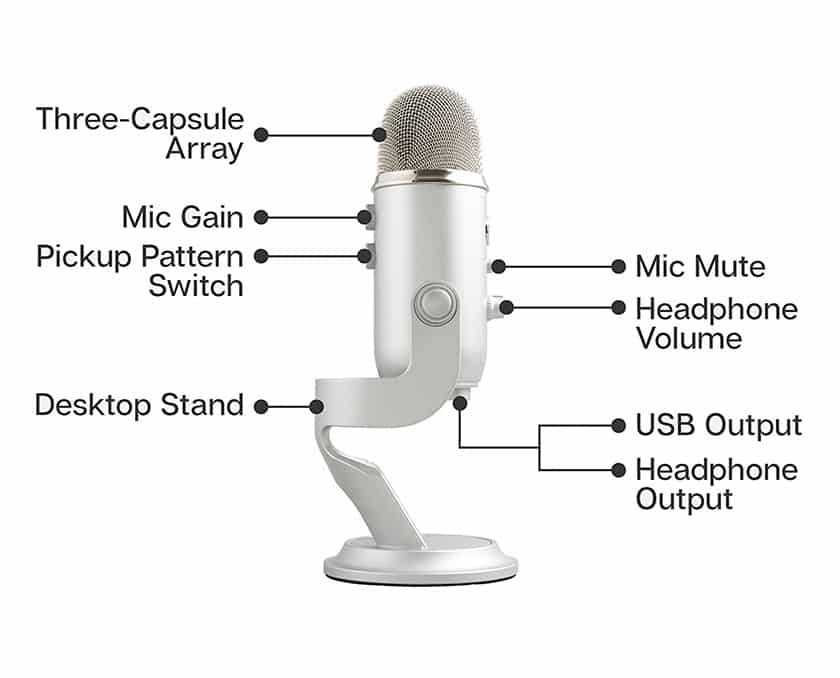
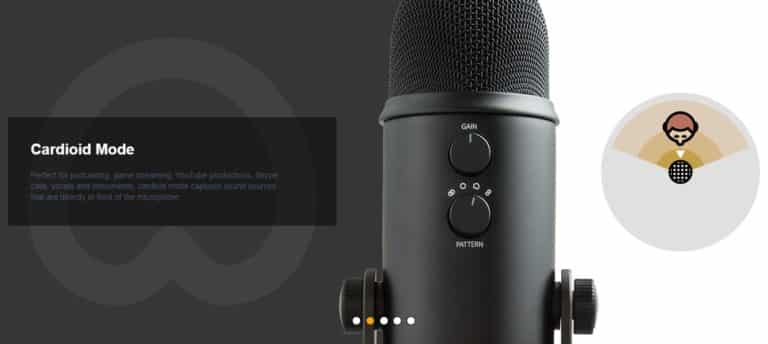
4 Use the right polar pattern settings
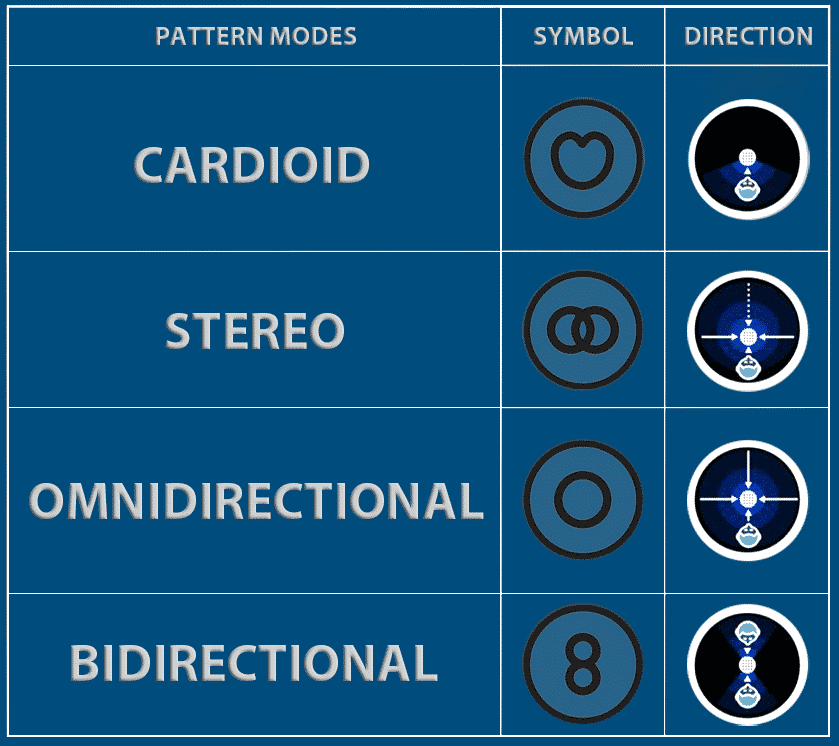
Always check your Blue Yeti polar pattern settings because this determines the amount of background noise you will be able to capture. The Blue Yeti microphone features four modes that regulate the pickup patterns.
For instance, if you want to capture sounds directly in front of your microphone, ensure the polar pattern set is Cardioid. This should be the main setting to utilize for voice recording.
If you aim to record sounds coming from all sides of your microphone, set the polar pattern to Bidirectional.
To capture audio within your room in front and behind the microphone, set the polar pattern to Omnidirectional. Blue Yeti mics are extremely sensitive in omnidirectional mode.
These two settings, Omnidirectional and Bi-directional, are important when recording a band or musical instruments.
5 Adjust Microphone sensitivity
To adjust your Blue Yeti sensitivity settings, the following steps will work:
– Open the blue dashboard then click settings and microphone settings.
– Select the blue microphone that you want to change.
– The default setting for your noise gate should be 0dB
– Choose the ideal Blue Yeti setting to adjust your noise reduction sensitivity and drag the slider till you reach your perfect settings. Try to play around with the high pass gate too. All this can be done on the fly, which makes it easy to adjust while listening.
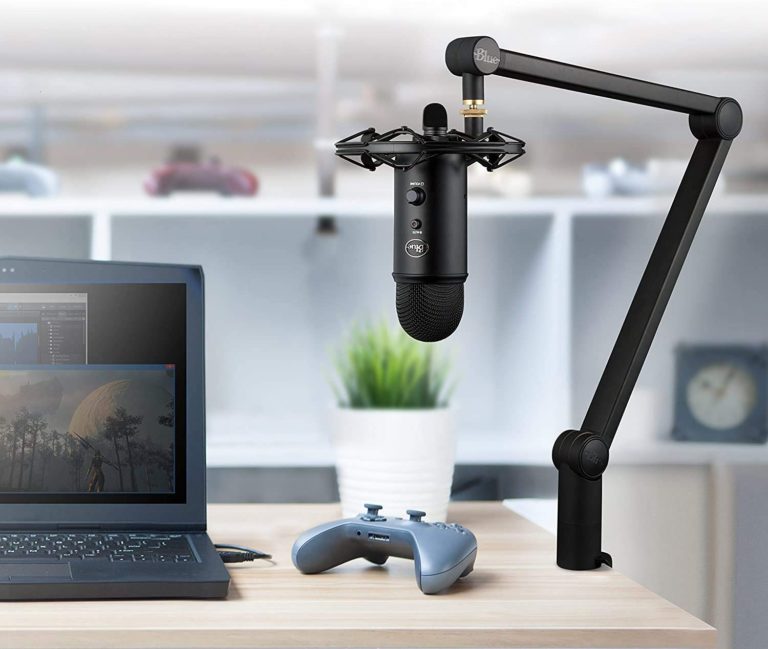
6 A pop filter to minimize plosive noises
A pop filter minimizes unwanted sounds. A pop shield can be a cloth or any other material stretched across the front of the Blue Yeti microphone to stop popping sounds that happen when you are speaking too close to the microphone. It also eliminates sibilant sounds and helps to reduce other things in your room, like fans.
7 Use a noise-canceling app
Krisp is a free noise-canceling app that will remove any background noise. It uses its AI-powered noise-canceling technology to process real-time audio. It distinguishes your voice from background noise.
Set up Krisp
- Download the app krisp.ai.
- Go to the Krisp setup menu select your Yeti micrphone.
- Know now when recording Select “Krisp Microphone” for the microphone source.
Conclusion
Background noises are a nuisance for those who record podcasts and live streaming. The good thing is that your Blue Yeti microphone boasts features that assist you in removing background noise and make it less sensitive, and your recording sounds better. With a less sensitive Blue Yeti microphone, go on and entertain your audience with the best audio than ever.
Thank you this was very, very helpful!!!
Your welcome