How to Set Up Blue Yeti for Streaming
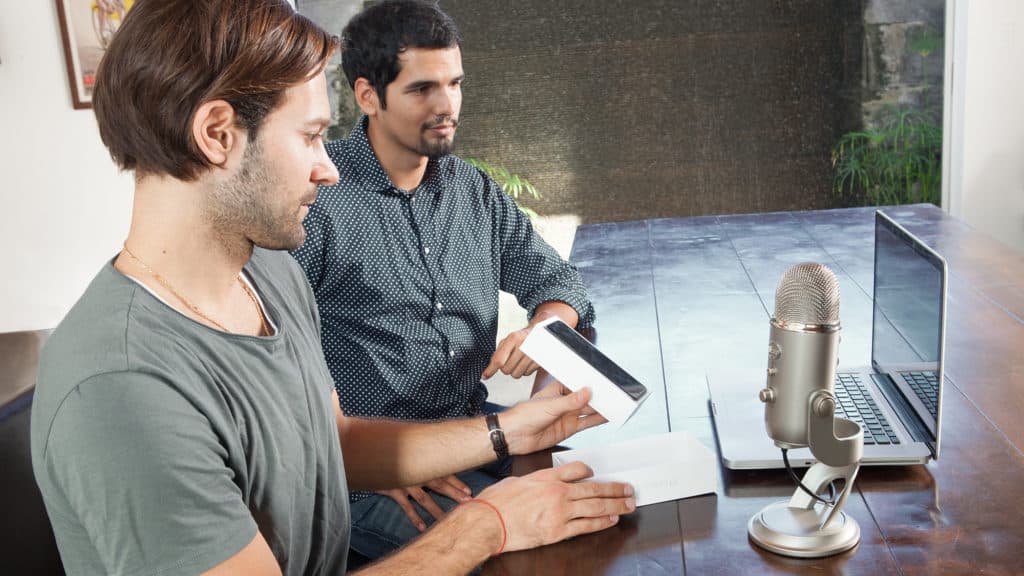
We all want to get internet famous since it is the latest trend. But, we cannot get this chance if our sound setup is not the best. The Blue Yeti is typically one of the best performance USB microphones that you can buy. It is the go-to USB microphone if you are starting podcasting, recording audio, and live streaming for youtube.
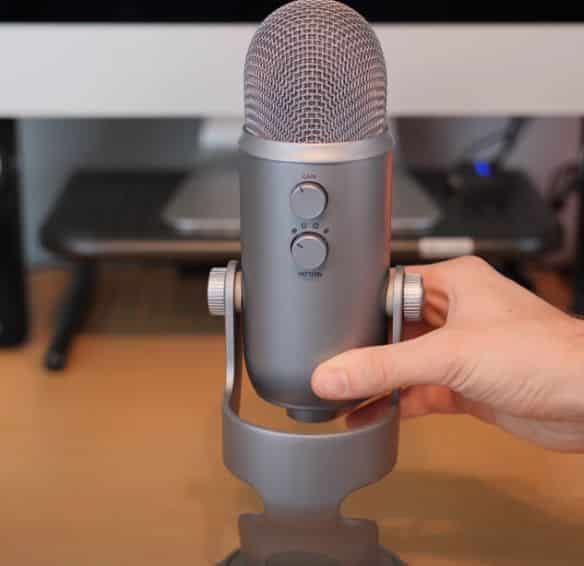
When you first take out your Blue Yeti from its package, unless you know how to set it up, you will think that the device is too high and too noisy. It will be quite challenging to figure out what is wrong. However, worry not, we are here to guide you step-by-step on how to set up your Blue Yeti for streaming. Let’s dive in!
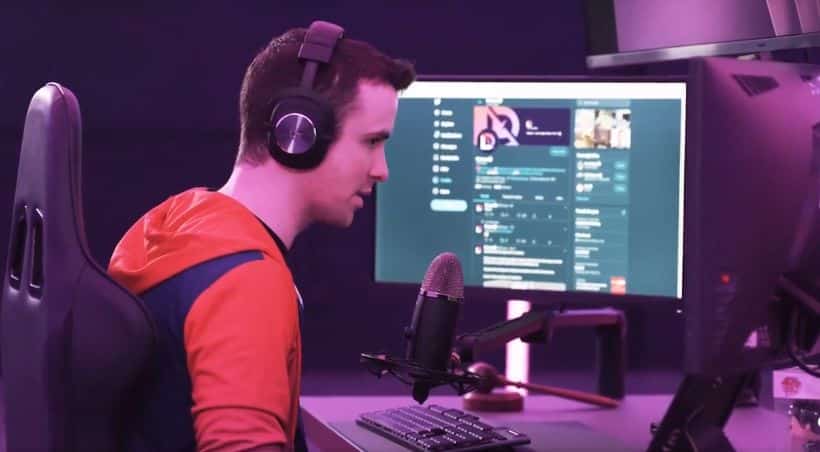
Table of Contents
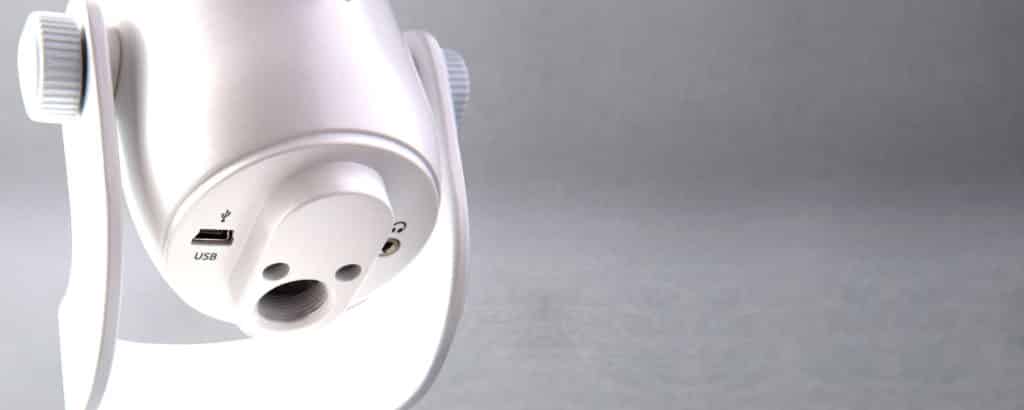
Plugin your Blue Yeti
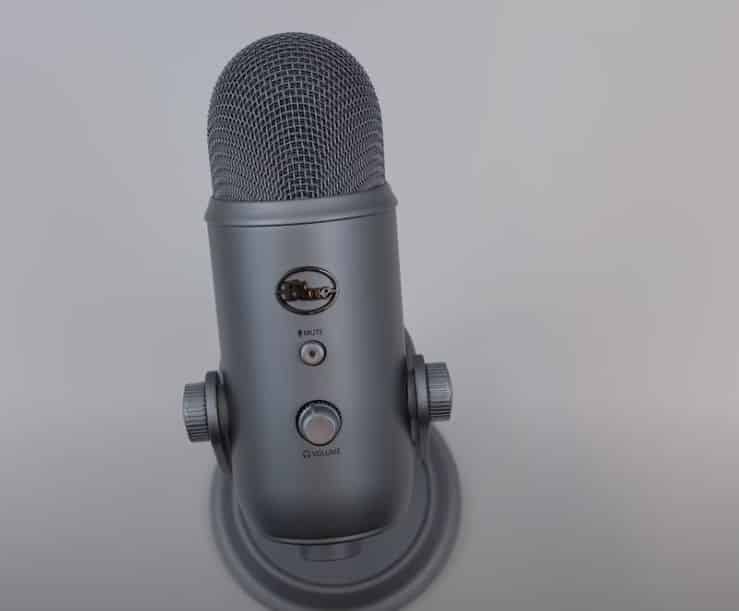
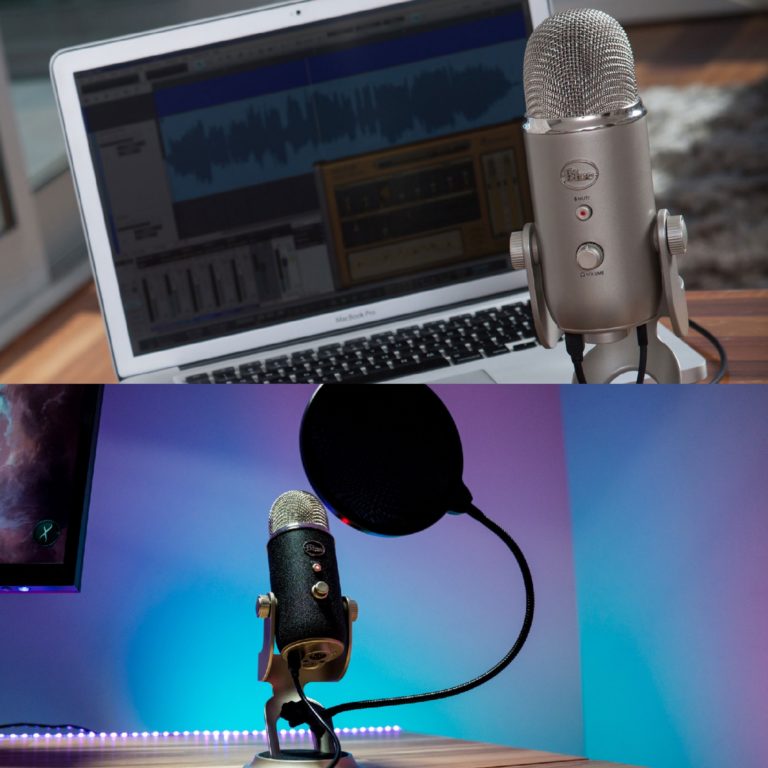
When you get your microphone out of the box, plug it into your computer. The yeti is powered through its USB. Therefore, just take out your USB cable, plug one end into your computer and the other end into your microphone.
Ensure the cable is routed in a manner that does not get in your way while streaming. When the microphone is plugged in, it should pop up on your laptop or computer indicating that it has been identified and is ready to be used.
Set the Blue Yeti as your default microphone
When the mic is plugged in, it is time to set Blue Yeti as your default input device on the laptop/computer. To achieve this, go to settings – system and click sound.
Alternatively, you can right-click the sound icon on the bottom right of your screen and click sound settings.
On the input section, select the Yeti microphone. With this, you can now use the Blue Yeti microphone as the default for each program that might need a microphone.
If you want to use the headphone jack on the yeti then select yeti on the output section too.
Position your Blue Yeti Microphone
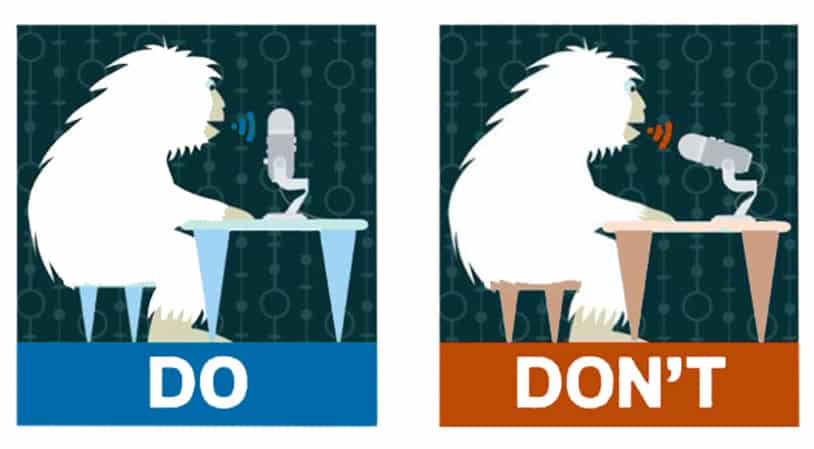
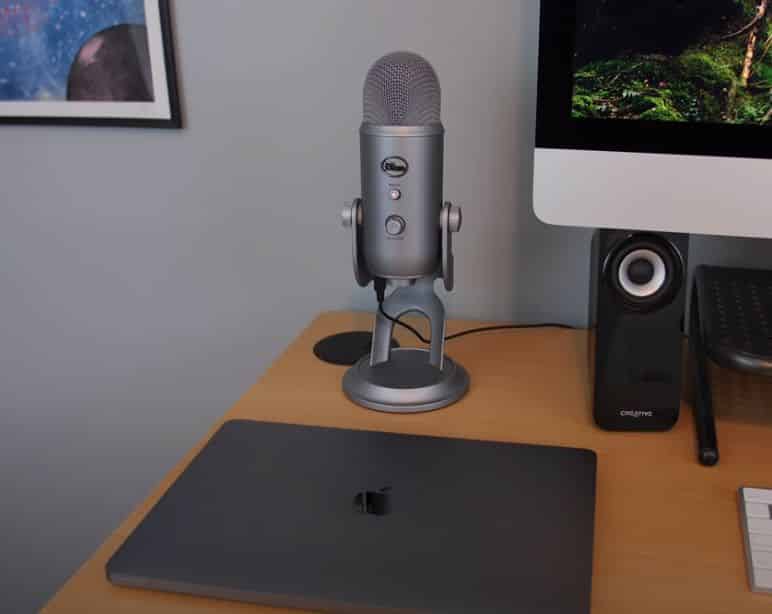
Now that you have set the mic as your default, it’s time to position it. When positioning your Blue Yeti microphone on your table or desk, it should be in an upright position and you should speak into the side of the microphone. Do not speak straight into the top.
Set up Your Stream
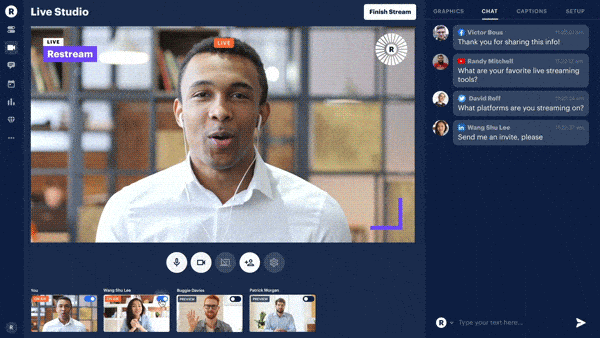
Go to Restream to create your free account. Add your favorite channels such as Youtube, Twitch, Facebook, Twitch, LinkedIn. Click Allow mic/webcam, and you are all set!
Blue Yeti microphone settings
The Blue Yeti microphone features several different options to achieve the optimal sound that you desire.
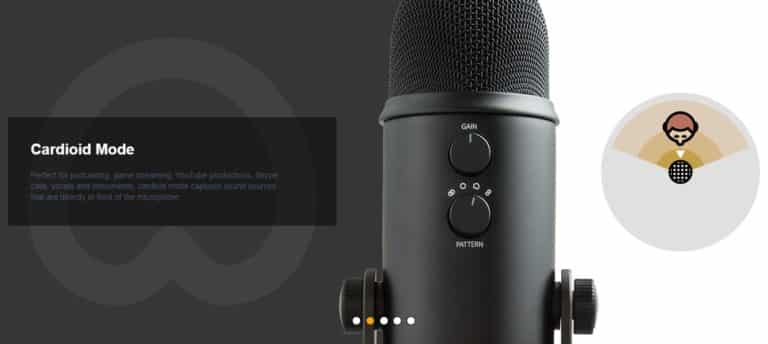
Pattern
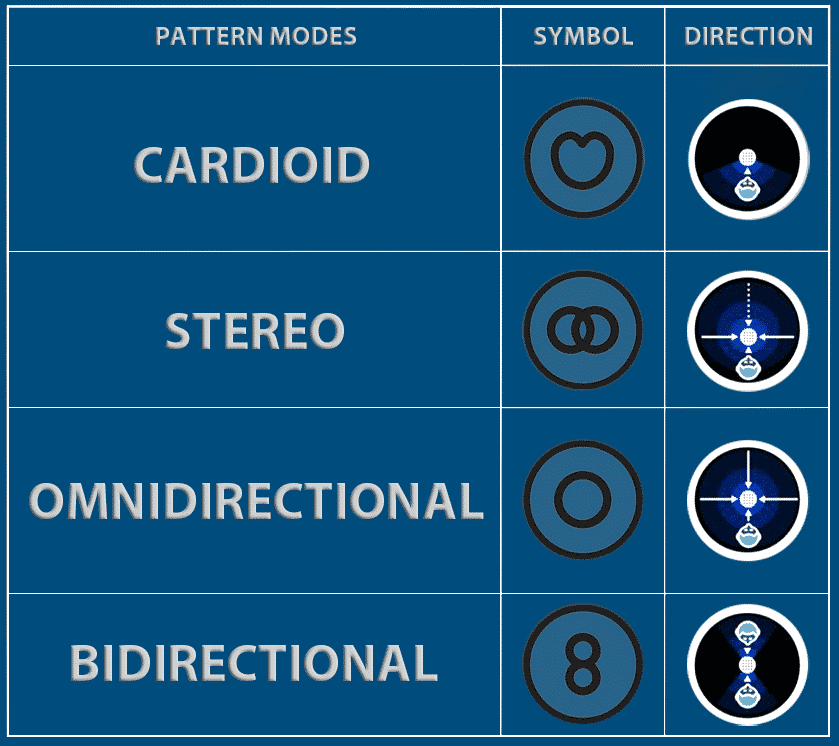
The microphone boasts different pattern modes. The Cardioid mode is best for podcasting, music recording, Twitch streaming, voice-overs, and instruments. This Cardioid mode record sounds that are directly in front of your Blue Yeti microphone thus delivering rich full-bodied sound. This mode is shown by a heart-like symbol.
The Stereo mode uses both the right and left channels to get a wide realistic sound image that is great for recording your acoustic guitar, immersive experiences such as the ASMR videos, and even choir.
The Omnidirectional mode picks sound equally from all around your microphone. This pattern is best used when you want to capture the atmosphere of “being there” such as recording a live band performance, a conference call, or a multi-person podcast. This pattern is indicated by the symbol of a circle.
Lastly, Bidirectional mode records from the front and rear of your microphone and is ideal for recording a two-person interview
Volume
If you are using headphones plugged into the microphone, the volume adjusts the sound that is coming from your laptop/computer. This does not adjust the mic volume.
Gain
The gain controls the sound level of your voice sent to the laptop. The average gain is mostly 12Oclockmark, but you can adjust according to your streaming room. You can take it up or bring it down.
Mute
The mute button switches the mute on the microphone. When clicked no signal is sent to your laptop/computer and no sound is recorded.
Tips to Improve Your Blue Yeti Audio
We all want your incredible sounds to take the internet storm and with the tips below, you can achieve this without much hassle.
Add a pop filter to the microphone
A pop filter is a noise protection filter that helps to minimize or eliminate popping sounds from your voice. This gives you a smoother sound on your stream. This is a nice and affordable addition to your microphone for a quality boost.
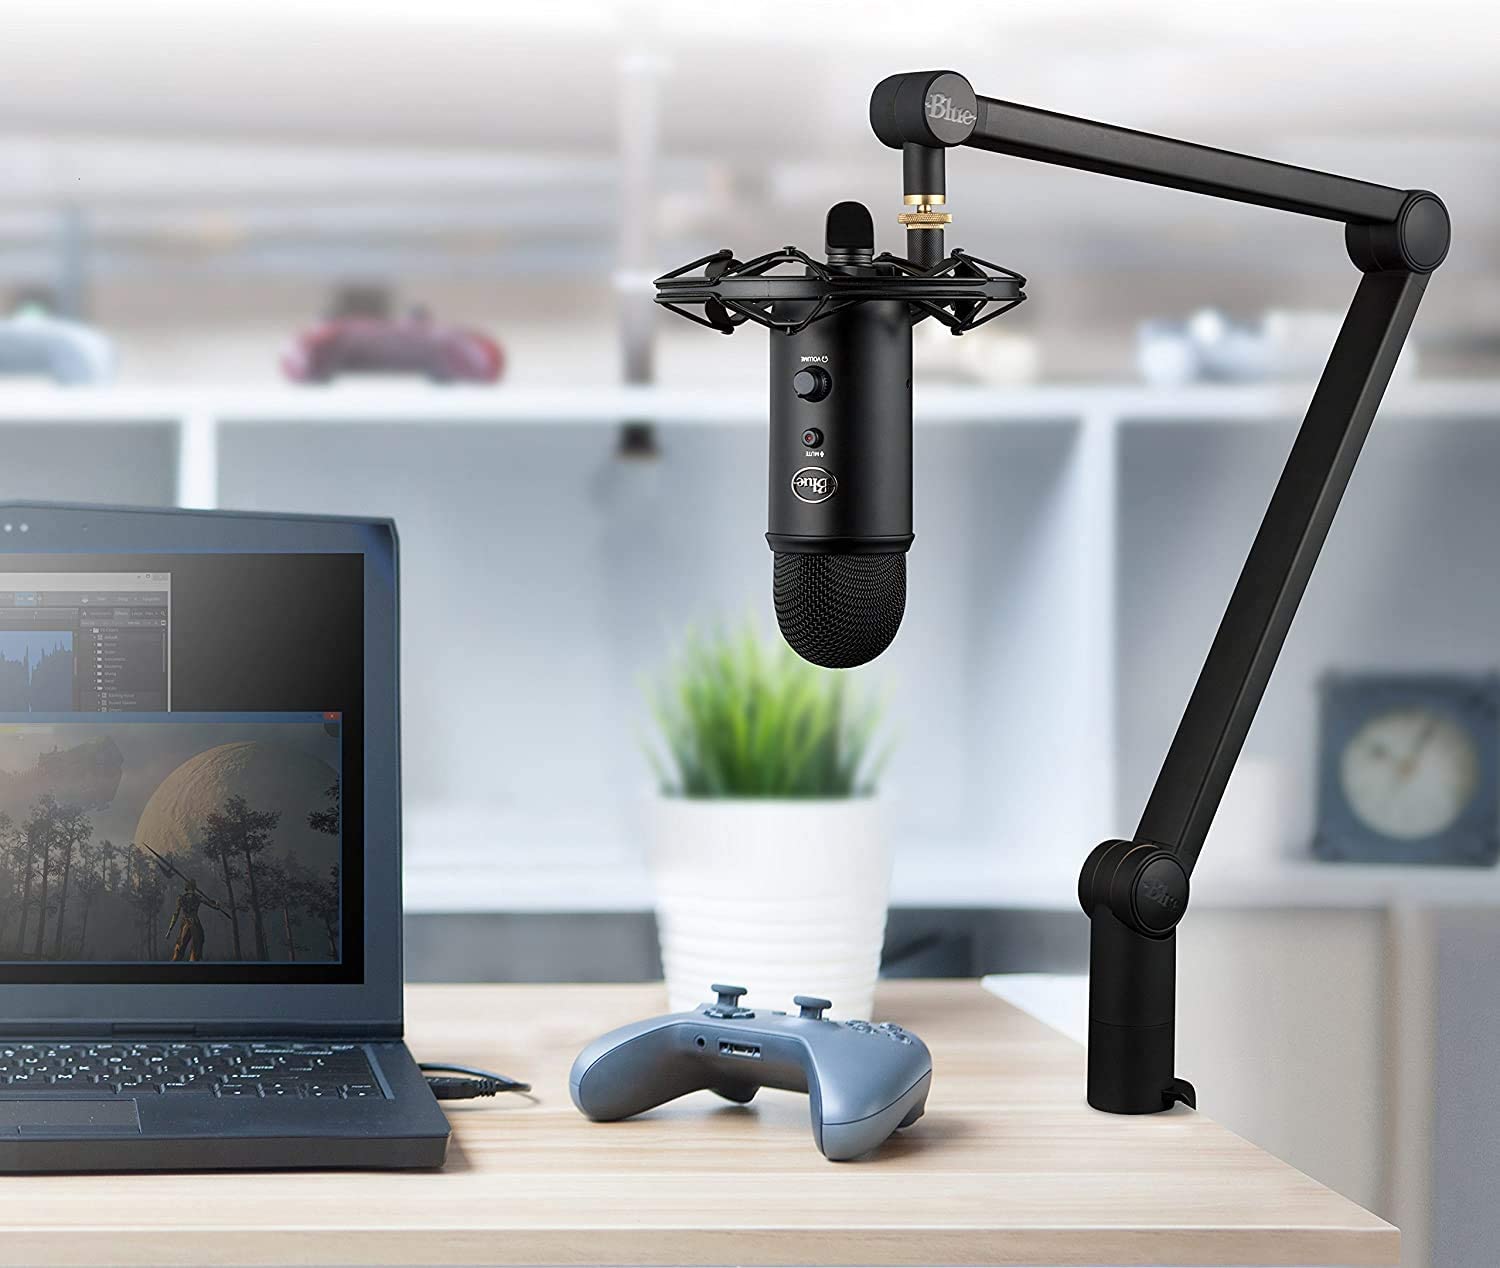
Get a solid boom arm

Adding a microphone arm stand is perfect if you want to move your microphone while playing. This enables you to get your Blue Yeti at the exact position where you need it without occupying desk space.
There are cheaper arm stands available, however, I have the Blue Compass and I feel it’s well worth its money. Blue also has a package that includes the Blue Compass and a shock mount.
Add a shock mount to the microphone
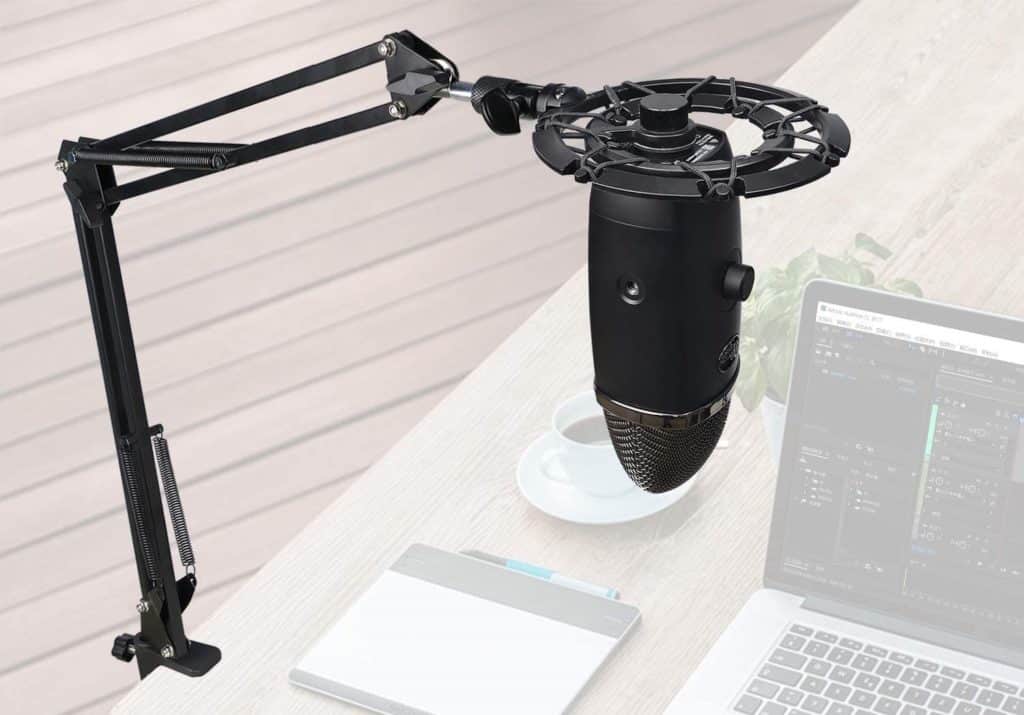
A shock mount will help to eliminate unwanted vibrations thus guaranteeing a crisp audio experience.
The Best OBS/Streamlabs For Your Blue Yeti Microphone
You have been wondering why your microphone doesn’t sound good after investing your money in it? We are here to take away these challenges with the filters below. They will, absolutely, change the quality of your sound.
Adding audio filters to your microphone in OBS Studio and Streamlabs OBS will filter out the background noise, mouse clicks, and more. To achieve this, open the OBS studio and then select your audio input device, which will be your Blue Yeti microphone. Click on the COG wheel and then select filters. The page that appears has different audio options. Below are the best to improve the quality of your sound.
Noise gate
This feature allows you to eliminate the background noise that you might be experiencing. The feature will not allow any signal to pass until the volume is set above a certain level. How low or high you set the limits determines how much signal is passed.
Noise suppression
This feature eliminates all your background noise. You can, for instance, set it up at -40db and try running some tests. If your voice is cut down, then you will have to minimize the suppression level.
Compressor
This helps to level out the sound or rather the volume on your stream. The feature makes the loud sound a little bit quieter. Therefore, if something excites you and you start to shout while streaming, you will not deafen the ears of your audience or streamers. These settings will elevate your sounds to another level.
Final thoughts
The Blue Yeti microphone is what you need to leave your audience entertained and satisfied with the sounds. The device is among the best in its category, but you cannot get the best out of it if you are not familiar with the setup. However, after reading through this article, you are in a better position to deliver the best sound performance on the internet. You are now ready to take it to the next level and enjoy unlimited success.
I just set up my blue Yeti and it works great! I was a little worried about the quality of the video, but it looks great! Thanks for the tips!
Really really appreciated this thank you ❤️
good very useful i love u guys